Thursday, July 25, 2013

Keeping the Kitchen Cool...

It's not much of a news flash to state...the weather is HOT...

Ok...yeah...we knew that already, thank you, Mrs State the Obvious!

Lately I've been posting food pics on Facebook dedicated to keeping cool and not heating up your kitchen.
I thought I would explore this concept a little deeper.

I find it difficult to consider preparing food in weather like this.
The thought of turning on a stove or even a toaster oven makes me cringe.
Especially when it feels like you're melting...


I have posted pics of a variety of salads with a plethora of taste sensations.
...but one can only eat so many salads...
(and I am most certainly a salad FREAK)

So to the grill I go!  We have been BBQ-ing a lot lately.
Even if you live in an apartment that does not allow BBQ-ing, you can most likely find a public park in your area that will allow you to bring grills or coleman stoves.
Check your local by-laws on that one...

When Hurricane Sandy was about to arrive, we made propane and water our first priority.
(we already have a food store in our basement and a fireplace,
so we didn't have to worry about food and heat)
At the time, the storm kind of missed us...so we were sitting one a propane surplus!

We have been experimenting with grilling stuff like peppers, watermelon, peaches and plums.
As well as the usual suspects like steak, burgers, sausages and even a roast!


We also tried our hand at grilling corn on the cob.
Emeril Lagasse swears by it...not that I follow the trendy eating crowd, mind you.
Ches soaked the cobs whole for approximately 1 hr, but the longer you can wait, the better.
He BBQ'd the cobs and we ate them on a 
separate, blazing hot night where the house was sitting at 31 degrees Celsius.

Whatever we grill, I like to grill a large quantity and reserve some for later use.


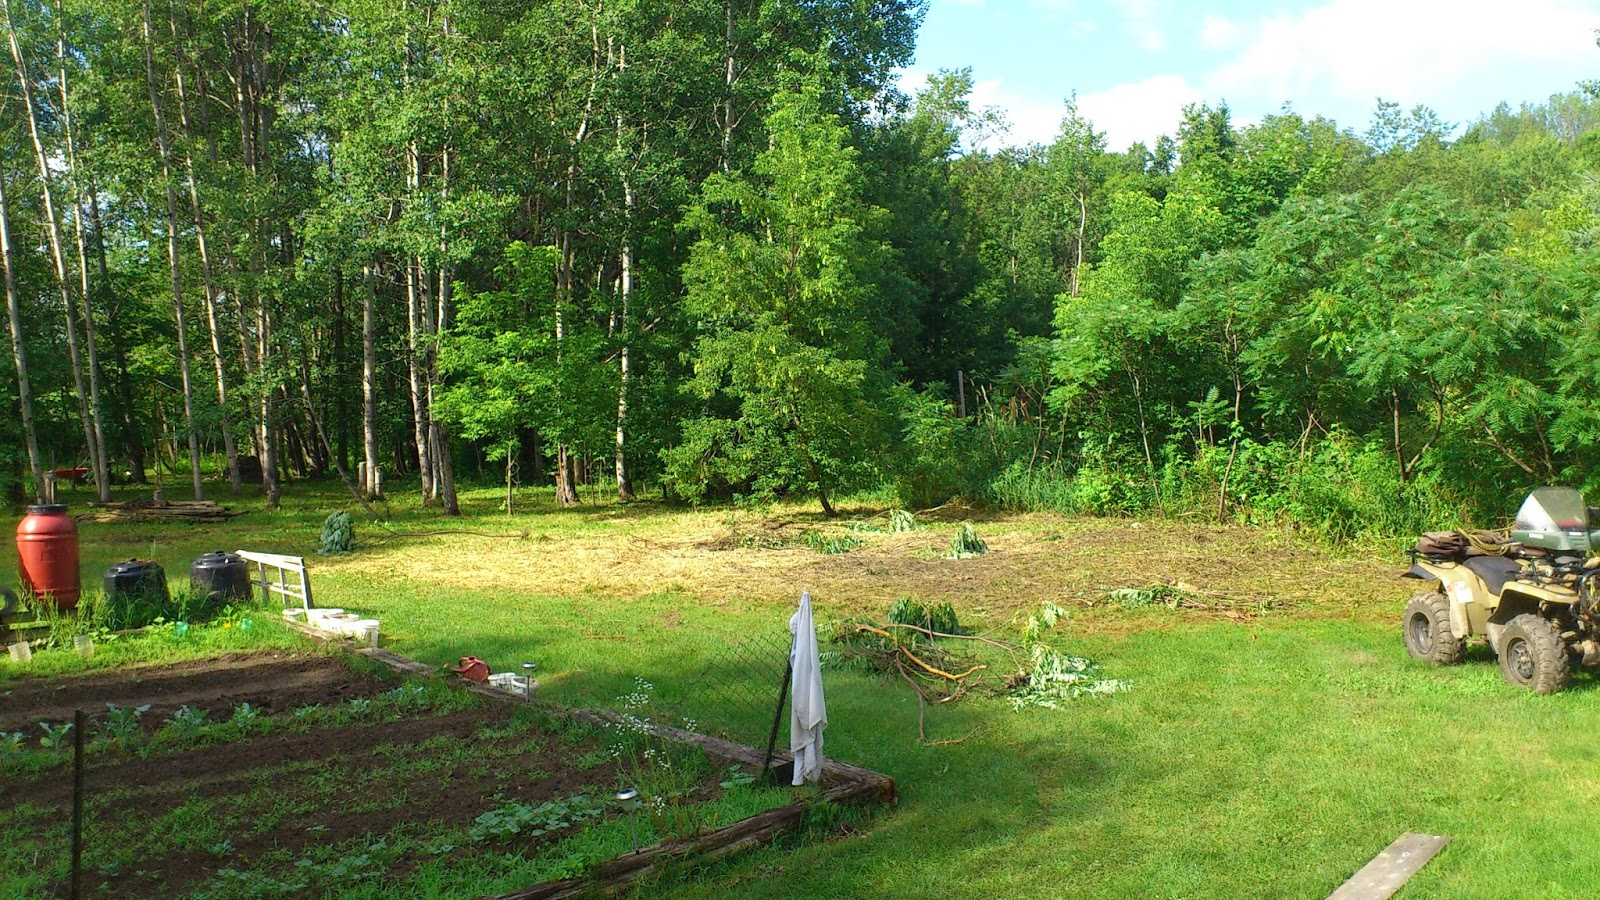
The pictures included in this post show a dinner we had outside by the firepit one evening.

(A fire?!?!  I know, we still have a fire on occassion to keep the evening bugs at bay,
but only when there is no fire ban)

We BBQ'd burgers and topped them with fresh picked garden lettuce, Old Cheddar cheese from Wilton and previously grilled red peppers.
Complete the meal with cold cervesas and s'mores for dessert.

The grilled peppers gave the burgers a wonderfully different taste, almost sweet.
Like a gourmet burger served in a high end restaurant.


Another way to consume leftover grilled peppers is to use them in a grown up grilled cheese sandwich!
I layer cheese, spinach, cheese, onions and tomatoes, more cheese, the grilled peppers (kept in large pieces) and finally a layer of cheese...muahaha!
Press between 2 pieces of bread buttered on the outside and fry in a frying pan.

**********************

In case anyone was wondering how to make a traditional s'more:
-toast a marshmallow
-press toasted marshmallow between 2 graham crackers and a piece of chocolate.

There are variations and substitutions...but we like to keep it old school.
Also, in case anyone was wondering...the top picture shows our roasting tree...
Anyone how ever toasted a marshmallow or wienie on the campfire will be familiar with a roasting stick...
but our version is a TREE...complete with enough "branches" that you can literally roast a whole meal.
(or a million marshmallows...give or take)


Check out my Facebook page or group for more recipes to keep you
and your kitchen as cool as possible these days.

Take care everyone!

Friday, July 19, 2013

UPDATE: Gardens abound...

Here's the update!

It took a little longer to get the big garden prepped and planted this year.
We're about a month behind.
There were tiller issues - don't get me started.
On the upside, our plants (which weren't planted yet) were not harmed by a late May hail/wind storm.
On the downside, everyone else I know is already harvesting stuff from their gardens.

What we planted this year:

-beefsteak, roma, cherry and yellow pear tomatoes
-cabbages
-green, yellow and purple beans
-white corn
-beets
-peas
-green zucchini
-potatoes
-jalapeno peppers
-regular and pickling cukes
-carrots, both orange and purple
-broccoli
NEW:  brussel sprouts - never tried growing this one before!

The big garden bed on a lovely sunny morning
The actual garden work feels like its been on hold lately.
I manage to weed the garden for about an hour in the morning or an hour in the evening, but I can't seem to manage both.  Between the incessant heat and the bugs...it's just not happening.
At least there are no water shortages this year!  WOW! 
Rain aplenty...wishing we had more rain barrels though.

One thing we have at the new house (that we certainly didn't have at our old house) is
DEERFLIES!
OMG these suckers take a chunk out of you!
I have yet to get a deerfly patch for the back of my gardening hat...
but its coming sooner rather than later.


Husband has been feverishly clearing some neglected sections of our property.
The dried area you see above was previously a sumac patch riddled with long dead, wild raspberry canes.
It also was hiding a small play structure from the previous owners approximately 20 yrs ago.

Our plan is to clear it, then add more beds to the space.
We are both excited to plant berry bushes!
A space for huckleberries, fresh wild raspberry canes, blueberries and blackberries.
As an aside, Husband is super stoked to get a blackberry variety called Chester.
(his name doesn't get many shout outs...especially from fruit)


Way in the back yard, by the fire pit, is a small bed I made from deadhead rocks in the immediate vicinity.
I planted a citronella plant that I purchased from a local garden center.
The plant had been over-wintered (brought inside after its first year) and was enourmous!!!
We pick leaves, crush them up a bit and stick them in our pockets or shoes.
I stick them on top of my ears, like a flower.
Using them this way, you can also judge when you've gotten too close to the campfire.
(Discovered by accident! I was tending the campfire and forgot I had them behind my ears.
I was greeted with a strong lemony smell...much stronger than just crushed leaves)


Close up on the citronella flowers above.


Now to the front beds!  Above you can see the herb garden at the front of our house.
I labelled each herb and plant.  The green onions were transplanted from our stash last year.


The dill getting out of control!  Owen, my little guy, says it looks like a rainforest.


The mint has rooted nicely!  I still think we needs another area for mint...let it grow wild and crazy.
Momma likes her mojitos!


This side of that front garden bed was like the dumping spot for everything last minute.
(It was supposed to be for tea herbs...but I really need to do more research on teas)

The lavendar so far has been disappointing. 
I thought I would have tons for tea this winter...we'll see how that goes...
I have never grown horseradish, but it sounded like fun.
I don't even eat the stuff, but Husband does!  So I bought some...a week before someone pointed out wild horseradish that stands up to my waist in a completely unrelated area of the yard....sigh...


All that hard work deserves a snack!

Before bed snacking is big at our house.
Here is what was on our snack plate:

Swiss cheese from Wilton Cheese Factory
Gala Apples
Fresh peas in pods from the garden (not enough for a family meal, but enough to snack on!)
Breton mini crackers


Saturday, June 15, 2013

Ramps, Ramps and Wild Leeks...


I feel like I'm behind on my posts...but I will try to keep up...as the growing season ramps up...

ok...that was a bad pun...

This post is all about what we made this year with wild leeks.

I have posted about the actual picking of wild leeks before...so I won't rehash it.
If you are in desperate need of picking info...click the link below:


This year, the family went out twice for picking leeks.
The first time was my husband and son in the first few weeks of May...but the plants weren't quite ready yet.

We waiting a week or two and then went out again.
It was the mother-load!!!
We went to our usual spot, but hiked back about 100 feet further into the woodsy interior.
It was like an unspoiled haven for leeks.

We hauled out 3 cloth grocery bags of wild leeks.
Husband spent 3 nights separating the green leaf part and the white bulb part.

I spent about a day preparing the leeks to be made into several new and exciting edible forms.

So this post is about all the thing we made this year!

Read on and salivate...


Potato & Wild Leek Soup

This recipe is so basic and filling...enjoy it topped with bacon bits or herbed croutons.

10-12 medium sized potatoes
8 wild leek bulbs (the white part only)
2 tbsp coarse chopped leeks leaves (the green part only)
1 cup veg or chicken broth
4 cups of water
1 tsp fresh chopped chives
1 tsp salt & ground pepper each

Simmer potatoes in water until tender.
Add broth, leeks bulbs and S & P.
Simmer until aromatic.
Add leek greens, chives and simmer for a few minutes.

You can make this recipe with fresh or frozen leek bulbs.


I'm so proud of that picture above!

From left to right:
-Dried ramp leaves
-Sweet pickled leek bulbs
-Ramp greens pesto


I borrowed the pesto recipe from my friends at The 3 Foragers blog!

check out their delicious recipe here:


For some reason, this image makes it look like the pesto turned out fluorescent green...
but in reality it was more dark green in colour.


On the same page as the recipe for the pesto...was a recipe I've been dying to try...
Ramp Pesto Twists!!!

The 3 Foragers include the recipe for both the pesto, the bread and instructions on forming the twists.
The only substitution made was using marble cheddar instead of the recommended mozzarella.

The results ROCKED!


Above is the image taken of the final product with Pork chops, spinach salad and mashed garlic potatoes.

While I've made the Potato Wild Leek Soup before, the other recipes were new to our family (and me!)
We jarred the pesto for future enjoyment (it really was very tasty)
We dried and stored the ramps greens for future use in soups etc over the fall and winter.

The sweet pickled leeks will have their own post very soon...they are THAT good.


I would like to send a BIG thank you to The 3 Foragers
for continuing to post very tasty recipes for us to try.


Saturday, June 8, 2013

The Big Garden

When we moved in last year, gardening was the farthest thing from our minds.
Of course we had unpacking to do! 
We took all of our gardening stuff and literally chucked it into a
sad little shed in the corner of the property.
"Until next year!"  I thought at the time...

Flash forward to this year and it almost feels like gardening for the first time.
I wandered around feeling like I wasn't sure where to start!

Was I THAT out of practise?
(I hoped not)

So I decided to follow the advise of my old sub-foreman:

"Plan yer work and work yer plan!"

First step:  empty sad shed.


Yikes!


I had no idea it had a floor!


This image shows years of hoarding gardening containers and pots from everywhere and anywhere I could get my hands on them...mostly for free! 

SIDE NOTE:
You can sometime find loads of free planters and containers curbside after May 24th weekend.
(International Readers:  May 24th weekend is the celebration of Queen Victoria's birthday and widely held as the first beer-drinking, camping, put-all-yer-plants-in-at-once weekend)


Oh yeah, that's me standing in what will be our main garden patch!
It is quite a bit bigger than our previous home's garden.
(our "big picture plan" is to make enough to eat, store and then sell some at a small roadside stand)

Step 2....get the deck boards out of the garden!

We purchased a used deck last fall from a US Resident that didn't want to lug it across the Canada/US border.  Lucky for us, we got it for a song!


So we must move the deck board from the garden and onto the deck (where they should be!).
Husband installed the largest part of the deck last year.
The second and third pieces of deck will be installed as soon as the gravel is delivered.

Then we can think about tilling the soil.

Whew!


There's our view of the garden from on the deck...
Can you imagine what it will be like to look out over our bounty??? 

So that is all the update I can give ya right now...
Check back soon for future steps...


In the meantime...
I sorted out the smaller containers.
Years of buying seedlings already started from local nurseries.


I am volunteering to grow some seedlings for my Mother in Law for her church Plant sale.
I decided to splurge for the good stuff...hey, what goes around comes around, right?


I loaded up a bunch of peat pots to start some herbs and a couple other planters I had around.
The herb seeds were supplied by my Mother in law.


In the end we had several large areas of tomatoes.
Tiny Tim red cherry tomatoes, Yellow pear cherry tomatoes and Roma tomatoes.

All are sprouting nicely!  Just in time for the June 1st sale.