Showing posts with label carbon foot prints. Show all posts

Monday, December 22, 2014

Starting to think about Root Cellars

In terms of keeping our harvest as long as we can, 
we used to do a lot of freezing.
We experimented with different sized veggies and what would thaw out better.
We learned what froze well and what certainly did not.

One day, a pipe in our basement exploded over our large chest freezer.
That was the end of freezing that year.

We lost so much stuff...it was heartbreaking.
But like most things in life - I chose this sad event to be a learning experience.

How can we save our harvest in other ways?

Last year was an experiment in air drying and preserving.
We have dried some veggies and lots of herbs.
We dried seeds for planting next year.
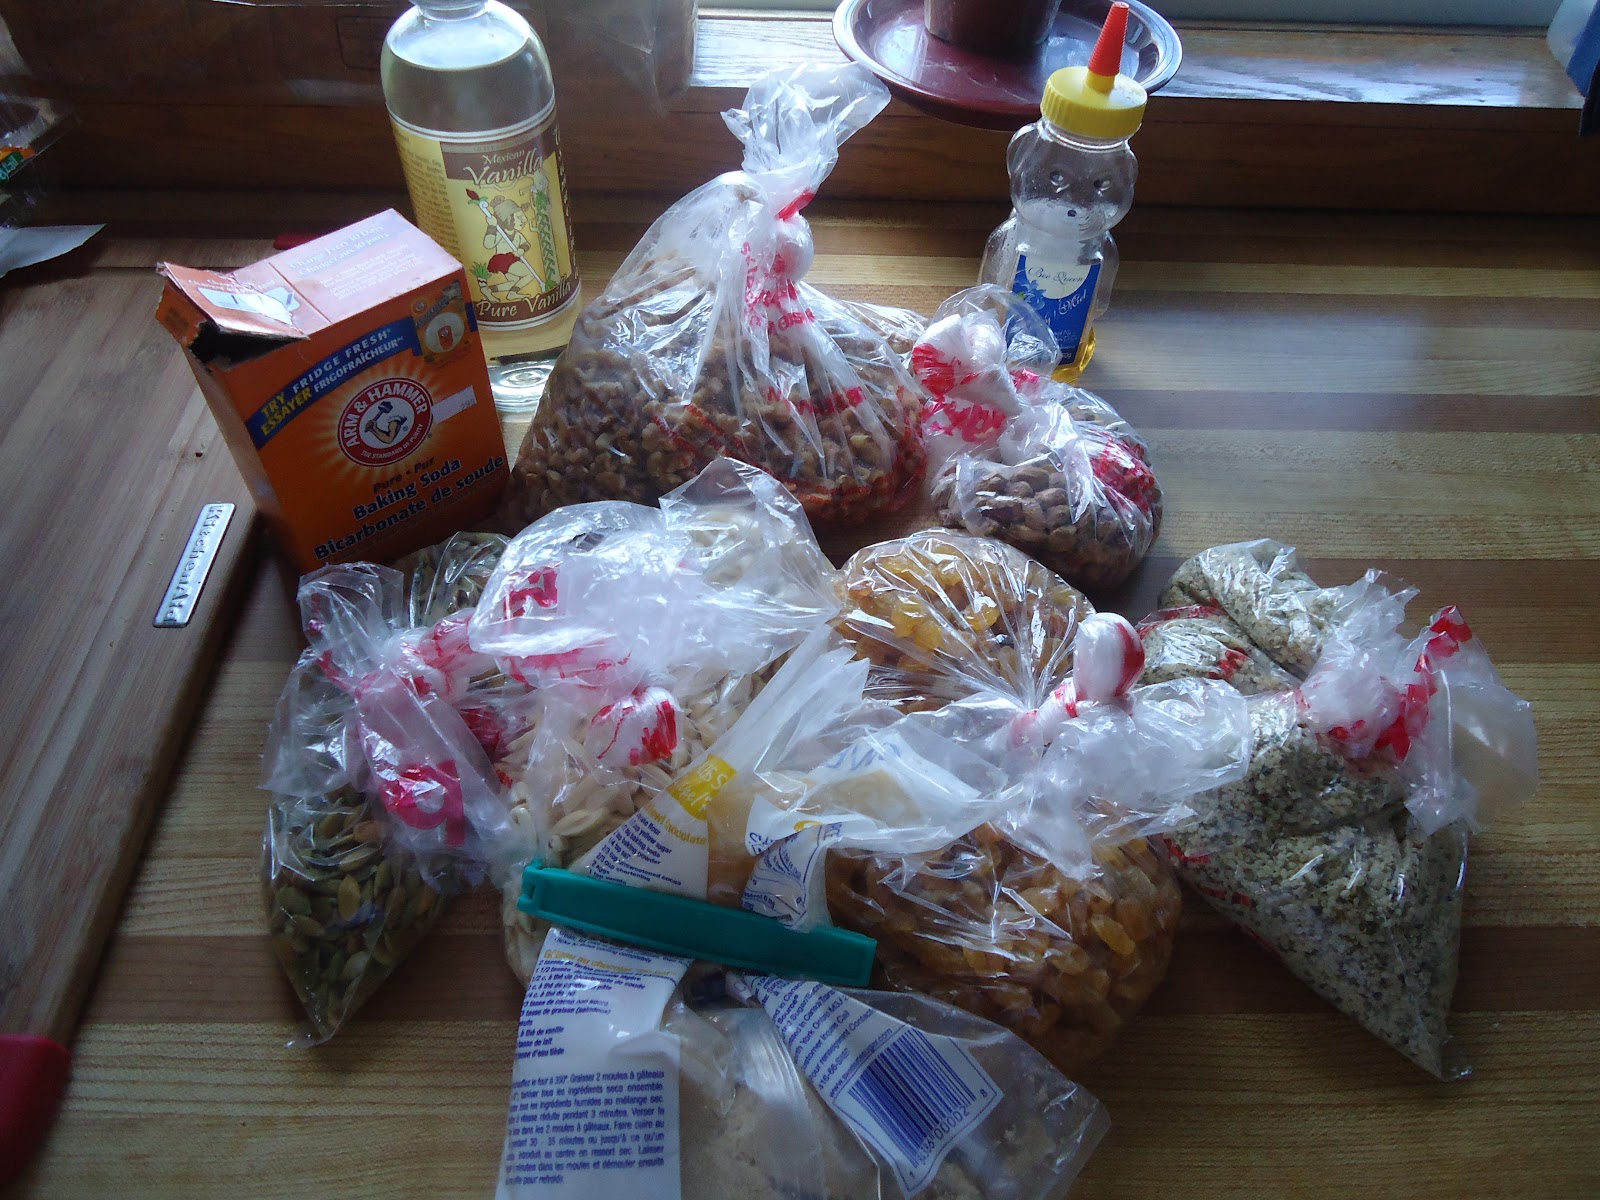
We put stuff in jars too!
Pickled jalapenos, dill pickles, beans, salsa, wild leeks, 
ramps pesto, strawberry jam, mint jelly and maple syrup.

Ever since the freezer died, I've had my mind focused on root cellars.
The idea of storing things with no electricity.
What a concept!!!

View from the roadside

Across the street from our house there was a lot for sale.
It used to have a small home that fell into disrepair.
The western border of the property has a steep incline.
Built right into the side of the incline is an old rocky root cellar.

I have passed by this structure for a few years now, but decided to take a closer look. 


The above shot looks straight into the cellar, showing both sides and the back.
The structure has long been unused.
It is missing its roof and door.
I imagine what it must have looked like way back when.


Can you see the bright green moss?
It grows off of the sand or mud that was inserted between the rocks.


The above image shows how the original builders of this root cellar used preexisting rock.
See the big one at the bottom of the wall?
I wouldn't want to have moved that one!


See that swirl in the middle?
I imagine there was a piece of wood supporting whatever roof was on this structure.
The sand hardened over time and stayed long after the wood rotted.

I don't think this design is necessarily the best concept for a root cellar.
That being said, someone obviously used it at one time.
Since it is still there (for the most part), I'm going to say the design was very sturdy!

WINTER HOMEWORK:
I'm going to start some research on the best home made root cellars 
so that we too can enjoy zero carbon footprint food storage.

In terms of our home, there are a few places I thought would make good cellars.
Over the last few years...I have been monitoring each area.
Upon further inspection, the temperature and moisture levels fluctuate a little too much for my liking.
Perhaps an exterior food storage option is the way to go?
Only time will tell...


What is your favorite method of storing your food?


Friday, February 28, 2014

Seed Saving...a first for Us!

Let me just start off by saying we are
an experimental family.
We dabble, we attempt.
Occasionally we have a success!
Normally that's just the result of trial and error.
Often a lot of error.

I like the idea of saving seeds.
I really had no idea where to begin.
To be honest, the whole concept seemed too big to grasp.
It was intimidating.


Husband and I started researching on the web...
in newspaper articles and books.

We took it one seed at a time.
Each plant requires a different plan.
Some plans are as easy as separating seed pod from plant 
and then drying the seeds.

Other plants require a much more thought out process.

Ches was much more ambitious than I was this past year.
He decided to try tomato seeds.


Tomatoes keep their seeds in a gooey substance that actually inhibits the seeds from growing!
You have to force the seeds to germinate by making them start to mold.
Separate seeds from fruit and place in a mason jar.
Fill partially with water and place a porous cloth (or in this case coffee filter)
and secure with elastic band.
Let seeds stand in liquid for a week and then a mold will form on the surface of the water.
When ready to dry the seeds, remove from scummy water and discard the mold.
Dry seeds as per normal.

I'll be sure to let you know if this well researched method pays off in the spring...


All in all we did a great job last year in seed saving.
Peas, jalapenos, broccoli seeds, white corn kernels, purple, yellow and green beans.
Other jars in the above image show dried herbs (not seeds) like lavender, thyme and oregano.
Very important spices in our household!
The lavender is used for tea and respiratory ailments.
The thyme and oregano are staples in our cooking.
We even dried chunks of jalapeno flesh (the red stuff on the right)
...still haven't used it for anything...
but you never know...


We have a couple of black walnut seeds from a past neighbour's yard.
We also have a couple of peach and plum pits (the wild plums I wrote about previously)...


I finally found some rose hips in Pres-Quile Provincial Park in Brighton.
I dried them for tea making purposes...they contain obscene amounts of vitamin C.


The above picture shows something we never did before...
Broccoli seeds!
They form a bizarre little pod with tons of small black seeds inside.
We dried the pods on the screens,
then removed the seeds by hand.


See how small the pods are???


The seeds are totally tiny!
We've never let a broccoli go to seed before..so this past year was a treat.

I'm sure as the seasons go on,
we'll learn more about seed saving.
This past year was more fluky than anything intentional.
I feel it is important to be able to save your own seeds.
Food self sufficiency becomes more and more important as our 
food supply continues to let us down in terms of safety.


Speaking of seeds!

I plan on bringing the some of my seeds to the seed swap on Mar 4th in Tamworth.
The Tamworth and Erinsville Grassroots Growers Assoc.
featuring local celebrities like 
Karen ten Cate of Bumblerock farm, 
John Wise of Wiseacres organic farm in Centreville 
and Brian Burt of Burt's Greenhouses!

Nothing gets me going more than gardening talk in the middle of winter!!!!
Plus we'll be planting our "tropical" seeds this week...like tomatoes and peppers.


Friday, September 20, 2013

5 Days of Work Food - Challenge COMPLETE!

5 days have come and gone...that went fast!

So here is a quick recap on the meals I brought with me to work:

DAY 1:

Creamy Pasta with spinach and zucchini from the garden
Plain greek yoghurt with frozen raspberries (from picking) & blueberries (from road stand)
and local honey
chopped veggies sticks - celery, carrots, sweet yellow peppers, cherry tomatoes and cukes from the garden
a grocery store apple and ivanhoe cheese curd - white!


************

DAY 2:

Spinach salad with sliced turkey slices, cherry tomatoes, cukes, sweet yellow peppers and diced Wilton cheddar cheese
Home made balsamic salad dressing
a grocery store apple
Veggie sticks - celery and carrots
Mexican oatmeal - quick oats, cinnamon, nutmeg, chili powder, brown sugar


************

DAY 3:

Turkey-Pumpkin Chili with 2 johnny cake muffins (cornbread) in reused ziplock bag
Spinach salad with cukes, cherry tomatoes, sweet orange peppers, onions and walnuts served with homemade balsamic dressing.
Maple cinnamon oatmeal with chopped almonds and apples.


************

Day 4:

Leftover Sheppard's Pie
Veggie sticks (carrots, cukes, peppers, celery)
1 whole orange, sectioned
small (reused) ziplock bag of Tostitos chips with 1/4 cup homemade salsa


************

DAY 5:

TAKE OUT DAY!!!
(I thought I would treat myself and,
in the process, show you what I eat for fast food)

Sushi lunch combo B


Added BONUS:  It's across the street from my work - so I can walk there!
How's that for balancing the high carbon foot print sushi?!

I could have remixed any of the elements from the week's lunches to make a fifth lunch.
It wouldn't have been that hard, once I had all of the stuff on hand.

************

I tried to make a bunch of healthy snacks using stuff from the garden and pantry
for 5 whole days.
I tried to make sure I had plenty of protein (but not enough for a construction worker),
decreased my salt intake (by making home made stuff, stead of packaged),
bring stuff I could snack on throughout the day that was both sweet and savoury (to satisfy both cravings),
to eat the rainbow each day,
to reduce my waste by using and washing the same packaging...
and I think I succeeded!


So how did you do with the challenge?

Friday, July 20, 2012

Just about missed the strawberries!

We are so fortunate to have a choice of pick-yer-own farms in our area.

Both are great for different reasons.  Both are run by members of the same family.

We decided to go to Paulridge this year, because of necessity.  My mother in law called ahead to see which farm actually still had strawberries left!  We had waited too long in the season to have the luxury of choice.

So off to Napanee we went back at the beginning of July!

(Ideal timing in our area seems to be the middle to end of june for strawberries...but raspberries are later on)


Paulridge Farms is a family run operation that has been going on for years.


They really do have it down to a fine art.  They provide everything one might need for the experience.


Quaint placards display current pricing, wagons to haul your load to the car.  The parking lot is a short hike from the fields...kind of a nice treat to see the exhaust is kept a safe distance back from the food.


Owen shows me he is ready to go with all the tools he needs.

(Lucky for him Mum brings the other essentials like sunscreen, a cushion for your knees or bum and lots of water.)


The driver takes us on a flat bed trailer to the spot that is currently being picked.


Owen moves down the rows searching for the ultimate berry!

Lucky for us it was a hot day with no scorching sun.


Owen still needed a rest in between the rows.  Whew!


We were able to haul out 3 baskets of berries between Owen and I.

Nana picked 3 baskets herself.


We do eat some while we work...but after a while you just want to get out of the uncomfortable hunched over position.  So you pick faster...and snack less.  On the ride back to the main buildings, we snack a bit in sheer exhaustion and bliss.  Behind Owen are the baskets picked by the employees.  Those berries are sold at a premium, as "pre picked berries" at the main buildings.  The flavour of home grown, fresh picked berries but without the back pain.


Paulridge Farm has a play area at the main buildings. 
Its a nice little spot to rest up before heading back home.

We had to wait a little bit as Ches and Noah went their own route.
We decided to divide and conquer, splitting our efforts between strawberries and raspberries!

Ches and Noah picked 2 baskets of raspberries, which is saying a lot!
We have found that filling a full basket of raspberries takes twice as long because they are smaller and the bushes hide those ripe suckers!


In the end the boys were happy with the haul.
Total haul:  6 baskets of strawberries, 2 baskets of raspberries, 4 pints of fresh peas and 1 pint each of green and yellow beans.

It took approximately 2 and a half hours from the start of our trip door to door.

We made a huge batch of strawberry jam along with a couple of raspberry jams.
We rinsed and froze some of each kind of berry in large freezer bags.
Some of those frozen berries will turn into smoothies or be inserted into pies or crisps.  The newest thing for us is thawing a few for a batch of home made raspberry vinaigrette. 

All the tops we cut off the berries when we prepared them will go great in our composter too!

We ate the beans and peas almost immediately.
Eating fresh peas from the pods remind me of my childhood driving from Oshawa to a farm in Bowmanville.
My Mom and I would shell and eat them all the way home.

My paternal Grandma Bell was also big on picking your own when they were in season.
Perhaps that is a peak into her farming childhood or a reminder of the hikes in Selwyn Park in the Kawarthas where her and her husband built a cottage on Chemong Lake.

I just hope that my sons take their children picking berries and the tradition will continue.

Memories are made along the journey...not when you get to the destination!

Monday, April 30, 2012

Granola Bars...sort of...

This post started with a huge hawl from the Bulk Barn.

I had grabbed all of my favorite items, along with a few new treats.
The Bulk Barn is a favorite destination for the kids as well as myself.

I was mentioning my trail mix on my facebook page for this blog...
...when somebody mentioned GRANOLA BARS.

I have never made granola bars, but thought I'm confident enough to make those things! 
(I'd only been talking about doing it for years...just never gotten around to it.)

I got all of the ingredients out (grabbed a recipe of allrecipes.com) and started to work...

Turns out I didn't have any granola though....but why would I let that stop me?


Here's what I used:

2 cups flour (gluten free if you want to!)
1 1/2 cups hulled hemp seeds (a perfect and natural blend of easily digested proteins, essential fats (Omega 3 & 6), amino acids, fiber, iron, vitamins, calcium and enzymes.)
1/2 cup slivered almonds (rich in mono-unsaturated fatty acids like oleic and palmitoleic acids that help to lower LDL or "bad cholesterol" and a good source of vitamin E)
1/2 cup raw pumpkin seeds (good protein and amino acids!)
1/2 cup walnut pieces (walnuts have highest levels of popyphenolic antioxidants than any other common edible nuts.)
1 cup golden raisins (have anti-inflammatory, anti-cancer, blood cholesterol lowering activities)
2 tbsps whole flax seeds (numerous health-benefiting nutrients, dietary fiber, minerals, antioxidants and vitamins)
 1 tsp baking soda
1 tbsp vanilla extract
3/4 cup liquid local honey (The vitamins are B6, thiamin, niacin, riboflavin, pantothenic acid and certain amino acids. The minerals are calcium, copper, iron, magnesium, manganese, phosphorus, potassium, sodium and zinc.)
2/3 cups butter, softened
1/3 cup packed brown or yellow sugar

(all nutrional facts and info derived from http://www.nutrition-and-you.com/ and http://www.benefits-of-honey.com/)


Mix all of the dry ingredients then pour on the wet (or moist) ingredients.
Moisten the whole mixture evenly, then spoon into a baking dish.
Baking dish should be sprayed or lined with parchment paper.


Bake at 350 degrees F for 20 mins or until golden brown.

Let sit for 20 mins or if you want fast results...put baking dish in the fridge for 10 mins or freezer for 5 mins.
Cut into squares and serve or wrap in plastic wrap or waxed paper and place in ziploc bags for healthy, high protein snacks on the go.

EASY!

ENJOY!!! 

Although you can't always confirm that the items at the Bulk Barn have a small carbon footprint...you'll be skipping the preservatives in commercially processed foods.  (Meaning you'll be able to pronounce everything that went into your food)

Thursday, December 29, 2011

Shepards Pie

Shepard's pie is one of the first things I made from scratch.  I've made it so often that I almost forgot to mention it on this blog.  I really does encorporate evrything I believe in...if a meal could represent ones beliefs...

Wikipedia says... 
Cottage pie or shepherd's pie is a meat pie with a crust of mashed potato.  The term cottage pie is known to have been in use in 1791, when the potato was being introduced as an edible crop affordable for the poor.

Wikipedia goes on to say that you can use any kind of leftover meat in this dish.  One of our favorites is venison.  My mom and her fella left for Arizona and left us with their meat!  What a score!

Hubbie browned the ground off a few days ago.

That was pefect!  

All I had to do was saute the veggies, add the meat and make the juice. 


I used a full carrot from our garden (stored in moist peat moss), 3 cloves of verona garlic festival garlic, pressed, saute both until soft.  Add meat and a liberal dash of worchestershire sauce.  Prepare 2 packets of beef boullion and add to the mixture.  Heat until flavours mix and the juice gets thicker.  Add a turn of steak spice of your choice and simmer.  When the mixture gets to smelling great...add the peas and corn (or beans) all of which we had frozen while they were in season and stored in ziploc bags in the freezer.


I have to admit to a certain amount of sneakiness here...I hide parsnips in with the mashed potatoes! 

I used several brown potatoes from our garden (stored in buckets in the basement in dry peat).  But I also slipped in 3 hunks of frozen parsnip too.  I boil them right along with the taters and mashed them with milk, a dash of cream and a big helping of butter.  S & P to taste.


I scooped all the venison mixture in a large dish...then smooth out the surface with the spatula. 
I add large dollops of mashed potatoes to the top...and smooth it out too.
I always add a dash of salt to the top of the mashed potatoes and a tsp of butter on top (to make the mashed topping get a bit crispy!)

I love that eating shepard's pie feels like you are eating a bit of history.

What you're really doing is using almost everything out of a garden and adding in someone's free meat

You also have one heck of a great recession-busting, not-made-of-turkey, beat-the-winter-chills celebration dish!  Here's to the home made goodness of gardening all year round!!!


Monday, August 22, 2011

Recipe Feature...3 meals in one post!

I've been away all week again...so I find the post ideas have been piling up...

I was about to make 3 posts with a lot of details about each meal.  Instead...I want my readers to get the most bang for their buck.  Here is a post that features 3 hit meals from the past week.  All were delicious.  Some were planned, some were accidental...some used recipes, some were made up on the spot.

Here are the delectible servings of seasonal, easy and CHEAP meals (they all required at least ONE ingredient that DIDN'T come from the backyard).


Dinner last Sunday, some for family and some for friends

Aubergine & Courgette Bake

1 large eggplant
2 Tbsp olive oil
1 large onion (chopped)
2 garlic cloves (crushed)
2 lbs tomatoes (peeled and chopped)
a handful of fresh basil leaves (chopped)
1 Tbsp fresh parsley (chopped)
2 zucchinis (sliced lengthwise)

whole wheat flour for coating
shredded mozzarella
parmesan cheese

1.  Slice the eggplant, sprinkle with salt and set aside for 45-60  min.
2.  Heat the olive oil in a large frying pan.  Fry the onion and garlic for 3-4 minutes until softened.  Stir in the tomatoes, half the basil and the parsley.  Bring to a boil.  Reduce the heat and cook, stirring, for 25-35 minutes until sauce has thickened.  Mash the tomatoe to a pulp.
3.  Rinse and dry the eggplant.  Dust the eggplant and zucchinis with the flour.
4.  Heat more olive oil in another frying pan and fry the eggplant slices and zucchini slices until golden brown.  Set aside.
5.  Preheat the oven to 350 degrees.  Butter an overproof dish.  Put a layer of eggplant, the zucchini in the dish, pour a layer of sauce and scatter with some mozzarella.  Sprinkle over most of the remaining basil and parsley.  Repeat the layers, ending with mozzarella.  Sprinkle with the parmesan and remaining herbs on top and bake for 30-35 minutes.  Serve at once.
(REF:  The Complete Encyclopedia of Vegetables and Vegetarian Cooking, by Roz Denny & Christine Ingram, 1997)


Saturday Lunch at Home


Swiss chard noodles with Pesto sauce

a dozen large leaves of Swiss chard, sliced in long lenths
walnuts
3 Tbsp olive oil
1 onion cut in lengths
2 cloves garlic crushed
handful of basil leaves
a tsp of parmesan
handful of cherry tomatoes as topping
whole wheat bagels toasted with butter & a dash of parmesan
S & P

Fry up the onions and walnuts in some of the oil.  Add garlic and chard and simmer.  Grind salt over the whole mess.  Add basil and some of the parmesan.  Heat and serve in bowls with cherry tomatoes and toasted bagels.  Top greens with more parmesan.  


Dinner on Saturday night

Squash and Tomatoes on noodles

1 Flying saucer squash
1 pit red and black cherry tomatoes
2 cloves garlic
1 1/2 cups chopped chicken breast
2 tbsp fresh oregano and parsley
2 tbsp olive oil
spaghetti noodles
shredded cheddar
S & P


Microwave the chopped flying saucers for 2 minutes.  Fry up the heated squashes in olive oil until browned.  Add garlic and chicken and simmer for 5 min.  Add sliced cherry tomatoes, oregano, parsley, salt and pepper.  Simmer a 5 more minutes.  Serve over noodles and top with shredded cheddar. 


REVIEW:

These meals were a hit each time.  Each dish hit a different flavour of the season.  The first recipe was wonderful but WAY too much oven and frying for a hot summer day.  I could see me making that dish and freezing it for a fresh taste of summer in the mid-winter season (not sure how these ingredients would stand up to freezing...but worth a shot!).  The second two recipes were completely made up from stuff we needed to eat up.  Both required a minimal amount of frying and served up hot and fresh.  

If you wonderful readers make this dish, let me know, post a pic of your creation on my facebook page!  Lets all share our accomplishments.  

That's me...saving the planet one low carbon footprint meal at a time... 

Monday, July 25, 2011

How to blanch and store yer Beans!

When I first met my husband, I knew how to garden, but that was about it.  Along with being a stand up guy, he's also a chef by trade.  You would think that would be wonderful!  Sadly, with him working 3-4 jobs at any given point, he doesn't have a lot of time for cooking at home.  He does, however, have a wealth of knowledge in the kitchen...so if you can get him in there, you can learn a lot.

We gardened for some years before we considered storing the food we grew.  In hindsight, it seemed a little silly.  Eating beans for weeks at a time, so they didn't go bad and go to waste.  It definitely put our tastebuds through the wringer.  Nowadays we consider storage as a way to keep our garden giving throughout the year.  We have put some effort into investigating how you store different veggies. 

For our beans, we freeze them.  Pickling can be hard on the heart, what with all the salt.  We freeze our beans and they get added to soups and stews all winter, but my personal favorite is throwing them into Sheppard's Pie.  Mmmmmm.

As we found out the first year we froze beans, you MUST blanch them first BEFORE you freeze them.  Otherwise they turn brown when they hit the water or they leave everything else looking greenish.  (Like I said, gardening is VERY trial-and-error with us)

Now, let me start out by saying the only blanch I knew about was Blanche Devereaux from the Golden Girls.  So hubbie definitely came in handy on this one.  He knew how to blanch properly and he showed me how (with a lot of patience I might add).


The first step may seem obvious...but first you must pick your beans...I grab them when they are approx. 4-5 inches long...the longer they get the less sweet they are.  We grow green beans, yellow beans and purple beans!  That being said, we tried to blanch the purple beans and low and behold they turned back to GREEN!  Now we only pick the purple ones and eat them with dip or home made hummus.  So green and yellow beans get picked.

The you give them a GOOD rinse.  There will be dirt, bugs and/or wilted bean flowers stuck to them.  The outside of the beans are soft and lightly hairy, so stuff sticks to them quite easily.


Once washed, you'll want to dry them off a bit in a drainer.  Then you'll fill a big pot of water and get it on the stove now.  By the time that big pot comes to a boil, you should be all done preparing the beans.


When I prepare beans, I have old fashioned images of ladies on the porch snapping them by hand.  Your beans should snap when you break them, or they are not fresh.  I use a knife by the way, only because I'm doing a LOT of them and it takes less time.  Take off the ends and cut them into 1 inch pieces.  Any longer and you'll regret it when you add them to things in the winter.  you want bite-sized chucks, not long spears...as you may not know what you'll be adding them to later on.

When your pot is at a rolling boil, add the prepared beans.  Let boil for 1 min or until the beans change colour slightly.  Remember, you aren't cooking your beans, just par-boiling them.


After 1 min, you remove the pot from the stove and pour out all hot water.  You can use a strainer again here for this task.  I run cold water over my beans to halt the cooking process.  You can also set them in a sink of ice water if you so choose.

Allow the beans to cool a bit before you put them in a large freezer bag.


You don't want to PACK your beans in the bag.  You'll want to add a bunch, then flatten them out as thin as you can without crushing the poor veggies.  Lay the flattened bag in the freezer until frozen (approx 24 hrs).  Later on you can blanch more beans and use the same procedure for freezing.  When the beans are all done for the season, I add all the flattened bags into one.  At that point all the individual beans are frozen thoroughly and you'll also avoid "clumping".

Allow me to elaborate here.  "Clumping" was something that happened the first year we froze our beans.  Over the winter I encountered a large mass of beans frozen together.  Try adding a few beans when you have one solid block of beans (approx 3 cups worth)...not easy.  You'll either end of chipping away until you get beans shards...or you get mushy beans.  Again, trial and error....we live, we learn.

So now I take my flattened bags and add them to one or two freezer bags until each bag is full.  It may seem very labour intensive compared to the cheap bgs of Green Giant beans at the grocery store.  A relative once remarked..."Aren't those beans cheaper at the store?"  While I agree that beans at the grocery store are cheaper costing and easier than our beans, I have to mention that our beans have ZERO carbon footprint.  They were grown in our backyard and didn't have to be produced in a factory or trucked from a far away locale.  Part of our new mindset is that cheap isn't always desireable.  Cheap only means that I don't pay much money for something that costs the planet far more.

Our beans are healthy and pesticide free!  Our beans were grown with love (so they taste better!  or at least I think so) and my children understand what it takes to enjoy these green power veggies.

These beans make me feel more connected. 


Friday, June 17, 2011

Asparagus Anxiety...

This year started out great for our asparagus!  It was daily picking for a while there.  I felt spoilt with my asparagus lunch bags at work. 

Then one day I saw them.  And I remembered why last years picking was so dismal.  These annoying little black bugs with red wings eat the spears for lunch and laid eggs on the stalks!  They were back!!!  I found them a few weeks ago.  I yanked the afflicted stakes hoping that would throw them off the scent...but to no avail. 

My facebook page for this blog turned out to be just as much for my help as it was for others.  My friend Shelley posted a simple solution for getting rid of pests organically.  Dish soap!  We added some to a spray bottle and doctored the asparagus patch for a few consecutive days.

Bam.  Like that.  Well not quite that dramatic, but it seemed like we were back in the asparagus business.

I celebrated with one of my favorite reasons to grow asparagus.  You can make those hoity-toity omlettes you pay big bucks for in restaurants. 


Asparagus makes a triumphant return to our table!
 Asparagus omlette with Moors & Christians on Spinach:

Omlette:

2 egg omlette with 1% milk, Stirling butter and Wilton cheese. 
Asparagus steamed (over my son's hard boiling eggs no less!  Can I say I reused the steam?) 

Moors & Christians:

1 can of black beans, fried in 2 tbsp veg oil, 1/4 cup of diced white onions, 1/4 tsp red pepper flakes, 1juice of 1/2 lemon, 1/4 tsp cumin, S & P

Side:

Wild and brown rice mix and fresh garden spinach, with fresh, local, hot house tomatoes on top!

I love the eggs and the rice together.  I love the blend of cool and hot flavours to savour.  The rice and beans remind me of my sister's wedding in Costa Rica.  The tomatoes and spinach make me feel proud of my garden.  So much emotions on one plate!  Thank goodness it was too delicious to be too sentimental.  In addition, this meal (minus the beans and the rice) has a realitvely small carbon foot print (meaning most of the ingredients came from VERY close to my home, making less carbon to get to my plate) and it generated almost NO garbage.  The bulk of the waste was composted here, with the expection of the metal beans can and the plastic bag from the rice that will both get recycled.  Gastronomically healthy to boot!

I also wanted a chance to explain my disappointments in the garden and (in this case) my triumph over pests.  My garden is pretty organic considering all I actively do water with cached rain and weeding manually.  I don't spray or treat my garden in any way.  I prefer to let nature take its course.  Its hard not to get protective on something you've watched grow from seed, but bugs gotta eat too right?  So thank you to Shelley for helping me keep my garden from becoming a radioactive test site.  (I was tempted, I really do love me some asparagus!) 

Friday, June 3, 2011

LOCAL BIZ: A trip to Burt's Greenhouses in Odessa

The time has finally come....for us to take our annual trip to Burt's Greenhouses.  Just north of the 401 at Odessa, or aroun 15 minutes one way from our house in Verona.  It turned into a whole family excursion.


Every year we trek on over to Brian Burt's place and raid the veggie plants section.  There are still a few veggies I buy as plants, as I don't have the proper set up for greenhousing myself.  Its just a little easier to buy them already on their way...and trust me, there is still a lot to go wrong even if you don't start your veggies as seeds.  Typically we buy tomatoes, eggplants and some other veggies we haven't tried before.


Its like a grocery store!  You walk down each aisle and wonder "What do I want to eat 2-3 months from now?"  The kids really get into it, even if they can't envision the end result some months off. 


These guys really know their stuff...and they do it in the greenest way possible.  Their greenhouses are heated with a biomass (I won't go into it...if you're curious, Google BIOMASS) or click on the Environmental tab on Burt's website to find out in depth how they do it.

http://burtsgh.com/


We wheel around the greenhouses looking at wonderous colours and shapes.  I learned the name of the garden I always dream of...an alpine garden!  A rocky sandy garden with nothing but ground cover plants...lots of succulents (another word I learned there!)


Owen learned that the hedge around this sand box smelled yummy...it was like lavender and lemons wafting in the spring/summer breeze!


I love the display of gardening next to the greenhouses...showing you what you could do with everything you just saw in pots and rows inside the greenhouses.  It was beautiful and smelled great!  (You could tell when you passed a lemon or bee balm)  What a beautiful display!  Something every one of us enjoyed milling around.


In the end, we came home with what may not look like much.  A small collection of leafy things.  If you look closer (and use your imagination) you can see a 3 meter long row of white onions, a huge patch of sweet potato vines, a couple of new pepper varieties (Trinidad peppers, Purple peppers x 4, Peppers Fooled Ya), 4 Glamour red tomato plants, 4 Lemon boy yellow tomato plants, 4 eggplant plants just dripping with pink and purple flowers, sweet millions cherry tomatoes heavy with fruit, an ostrich fern that will hopefully supply us with fiddleheads next spring and a paddypan squash plant that I can't wait to get growing!!!  So much on such a wee palette and only $30 or so.  Very easy on the wallet.

If you  haven't planted anything yet, or you just aren't sure where to start...a quick zip out to Burt's will help you out.  You'll know you bought your plants from a reputable and local supplier who is intent on shrinking their carbon footprint.