Monday, August 22, 2011

Recipe Feature...3 meals in one post!

I've been away all week again...so I find the post ideas have been piling up...

I was about to make 3 posts with a lot of details about each meal.  Instead...I want my readers to get the most bang for their buck.  Here is a post that features 3 hit meals from the past week.  All were delicious.  Some were planned, some were accidental...some used recipes, some were made up on the spot.

Here are the delectible servings of seasonal, easy and CHEAP meals (they all required at least ONE ingredient that DIDN'T come from the backyard).


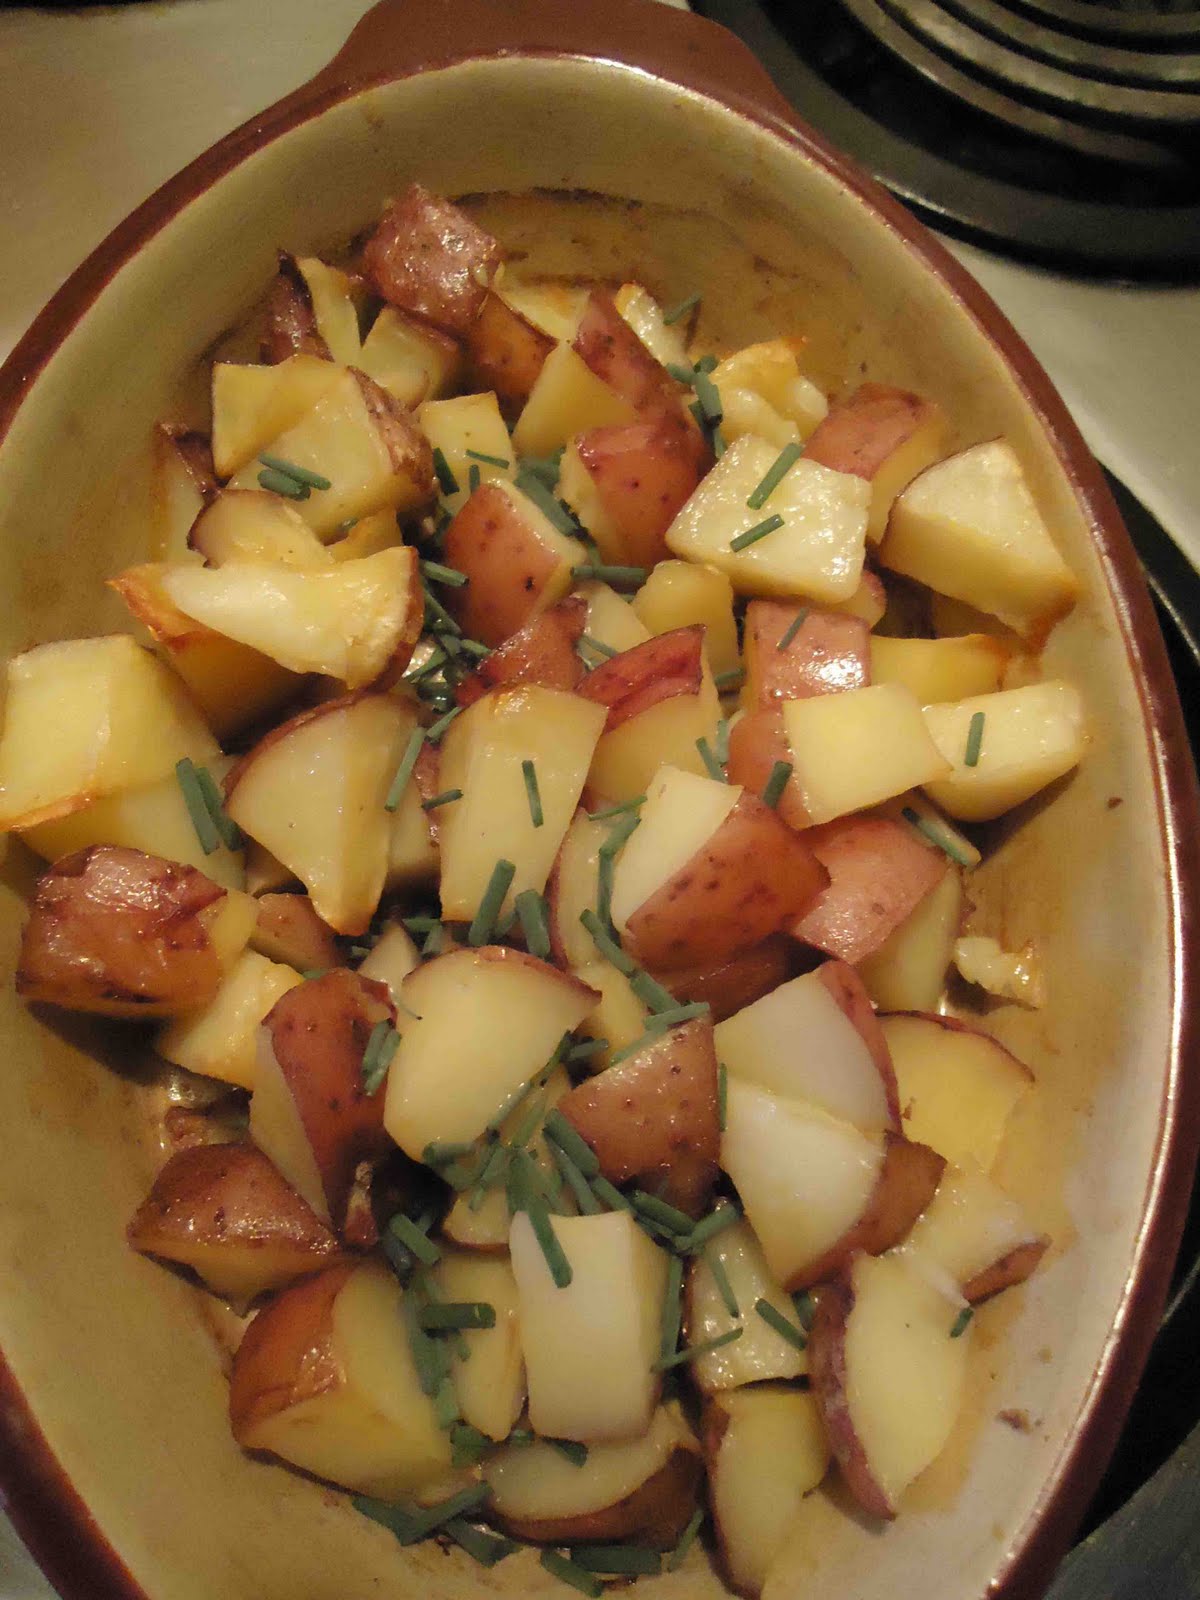
Dinner last Sunday, some for family and some for friends

Aubergine & Courgette Bake

1 large eggplant
2 Tbsp olive oil
1 large onion (chopped)
2 garlic cloves (crushed)
2 lbs tomatoes (peeled and chopped)
a handful of fresh basil leaves (chopped)
1 Tbsp fresh parsley (chopped)
2 zucchinis (sliced lengthwise)

whole wheat flour for coating
shredded mozzarella
parmesan cheese

1.  Slice the eggplant, sprinkle with salt and set aside for 45-60  min.
2.  Heat the olive oil in a large frying pan.  Fry the onion and garlic for 3-4 minutes until softened.  Stir in the tomatoes, half the basil and the parsley.  Bring to a boil.  Reduce the heat and cook, stirring, for 25-35 minutes until sauce has thickened.  Mash the tomatoe to a pulp.
3.  Rinse and dry the eggplant.  Dust the eggplant and zucchinis with the flour.
4.  Heat more olive oil in another frying pan and fry the eggplant slices and zucchini slices until golden brown.  Set aside.
5.  Preheat the oven to 350 degrees.  Butter an overproof dish.  Put a layer of eggplant, the zucchini in the dish, pour a layer of sauce and scatter with some mozzarella.  Sprinkle over most of the remaining basil and parsley.  Repeat the layers, ending with mozzarella.  Sprinkle with the parmesan and remaining herbs on top and bake for 30-35 minutes.  Serve at once.
(REF:  The Complete Encyclopedia of Vegetables and Vegetarian Cooking, by Roz Denny & Christine Ingram, 1997)


Saturday Lunch at Home


Swiss chard noodles with Pesto sauce

a dozen large leaves of Swiss chard, sliced in long lenths
walnuts
3 Tbsp olive oil
1 onion cut in lengths
2 cloves garlic crushed
handful of basil leaves
a tsp of parmesan
handful of cherry tomatoes as topping
whole wheat bagels toasted with butter & a dash of parmesan
S & P

Fry up the onions and walnuts in some of the oil.  Add garlic and chard and simmer.  Grind salt over the whole mess.  Add basil and some of the parmesan.  Heat and serve in bowls with cherry tomatoes and toasted bagels.  Top greens with more parmesan.  


Dinner on Saturday night

Squash and Tomatoes on noodles

1 Flying saucer squash
1 pit red and black cherry tomatoes
2 cloves garlic
1 1/2 cups chopped chicken breast
2 tbsp fresh oregano and parsley
2 tbsp olive oil
spaghetti noodles
shredded cheddar
S & P


Microwave the chopped flying saucers for 2 minutes.  Fry up the heated squashes in olive oil until browned.  Add garlic and chicken and simmer for 5 min.  Add sliced cherry tomatoes, oregano, parsley, salt and pepper.  Simmer a 5 more minutes.  Serve over noodles and top with shredded cheddar. 


REVIEW:

These meals were a hit each time.  Each dish hit a different flavour of the season.  The first recipe was wonderful but WAY too much oven and frying for a hot summer day.  I could see me making that dish and freezing it for a fresh taste of summer in the mid-winter season (not sure how these ingredients would stand up to freezing...but worth a shot!).  The second two recipes were completely made up from stuff we needed to eat up.  Both required a minimal amount of frying and served up hot and fresh.  

If you wonderful readers make this dish, let me know, post a pic of your creation on my facebook page!  Lets all share our accomplishments.  

That's me...saving the planet one low carbon footprint meal at a time... 

Saturday, August 13, 2011

A Hearty Home Cooked Meal....

I have been away for a week and all I could think about was my garden.  Ok, I did miss the family and the hubbie too.  I was surprised to see the garden as well as Owen had grown visably!  I walked around the garden in the evenings this weekend and gandered at the of the things that had started to peter out...and some other things that are just coming into their perfectly ripened selfs.  

We celebrated being together and the wonderful summer weather with a feast!

Everything we ate came from our garden....except for the chicken.  My husband took the opportunity to remind me, we could have those too in our backyard.  


BBQ Roasted Chicken

I grabbed a local chicken and my hubbie spiced it himself.  Paprika, garlic powder, onion powder, S & P, and a dash of coriander before cooking on the BBQ. 


BBQ'd Red Potatoes and a Blooming Onion

Ches chopped some freshly dug potatoes and laced them in olive oil and salt.  Then we grabbed a big white onion and chopped it "most" of the way through.  He added that to the plate which sat on the upper rack of the BBQ.


The complete package

The salad consists of beet greens, washed and rinsed dry, cukes, chopped, red and yellow tomatoes, chopped, and purple peppers, chopped.  A drizzle of home-made balsamic vinegrette on the salad AND the chicken were perfect toppings.  A dollop of butter on the taters and a grind of salt over it all.

YUM!

A low carbon foot print meal that satisfied the whole family.  And boy it's great to be home.  

Wednesday, August 10, 2011

Flying saucers...not necessarily from Mars


After last year, growing and eating zucchinis became a passion of mine.  I was never a huge fan of the tasteless gourd...but I am a born-again zuke lover.  This year I couldn't resist buying the flying saucer squash plant.  The picture on the tag was not unlike the image above.  I think they an adorable edition to our garden.  The debate between hubbie and I is are they a summer squash like zucchini?  Or are they like a winter squash like butternut or acorn squash?  The plant grows like a central bush like a zucchini plant, rather than vine-like as its winter squash cousins do. 

I have so many stuffed zucchini recipes put aside, that I thought I would try it out on something more fun...like a flying saucer! 


Because it is our first year with flying saucers...I had no idea what was the perfect picking size?  When they are cute and small?  Or do I neglect them for a few days and let them get as big as my hand (as shown above)?


I started browning some ground beef before I chopped off the top of the squash.  I simmered the beef for a few minutes while I dug out the center of the flying saucers.  Hope the martians didn't mind the renovations...


I added some chopped tomatoes, cooked brown and wild rice (I had in the fridge), some purple peppers (the turned green upon being cooked) and since we had no onions in the house, I used frozen wild leeks!  (we picked them this past May)


In the oven they went...at 375 degrees C and baked for 25 min.  Topped with mozzarella, of course.


After almost 35 min, I took them out of the oven, perfectly browned and crisp.  (I added a green zucchini and a yellow zucchini because I made too much filling...and truthfully, the flying saucers didn't look big enough to fill both  my husband and myself in one meal)

This was one yummy, healthy meal...and it occurred to me that the only thing we didn't grow ourselves was the beef, the cheese and the rice.  Pretty low cost meal indeed! 

What's the weirdest thing you've ever grown?  (could be the name, the shape or the colour)

Tuesday, August 9, 2011

Digging potatoes is like digging up treasure!

We have never attempted potatoes...in hindsight I wonder why is that?  They are ridiculously easy to grow and are very satisfying...their yield per plant is decent!  So as a gardener, your time feels well spent.  We've done virtually nothing but water our potato plants...and not very often I might add...they still turned out great!
Then we did some research and discovered how you can store potatoes using no hydro electric power whatsoever...you just need buckets of dry sand or dry peat moss.  The same goes for carrots and parsnips, but the peat moss or sand must be damp in that case.

The concept really got under my skin.  I did more research on root cellars and they have been around for a long time.  Of course I had heard of them before...but with the cost of hydro these days....it really makes sense that we invest some time and effort into this concept.  Now if our own basement didn't have moisture issues...I'd throroughly consider a root cellar option for storage in our own home.

We decided to try potatoes this year in the garden...some brown skinned with white flesh...some red skinned with white flesh.  In the thrill of planting, I forgot which ones were which.  It happens. 


A row of some kind of potatoes

The best part is when you notice your green plant parts dying off, because I've read that is the time to dig em up! 


So since we had one row of potato plants that seemed to be dying off...I went to work with my kid's shovel.  I dug a trench coming in at the side of the plant...just to get a peak at how these tubers grow!

It was one of the coolest things!!!  Like you just found out that someone stashed a bag of potatoes under this plant!  I was giddy...which is probably a weird thing.


the tuber still attached to one of the roots

And boy did they just keep coming!  I found many under one plant...and we probably would have had more from each plant if we had bothered to mound them up as most books suggest. 


I just kept brushing the dirt aside and there were MORE potatoes...


This was the result of one plant and it still felt like a big score.  We scrubbed them up and added some fresh cut chives from our garden.  We always microwave our chopped taters for 4-5 minutes before we toss in butter and salt and bake in the oven for 20-30 min. 


After chopping, you can put chives in a freezer bag and use them all winter long!

For a quick, no-nonsense side dish...I merely microwaved the chopped taters...tossed them in butter...sprinkled with sea salt and fresh cut chives...baked at 350-375 degrees in the oven.  You can also do the same prep work, wrap in foil and throw them on the BBQ too.  A very good alternative to heating up your kitchen these days.


YUM!
 These were so yummy, and I can see me using more potatoes in recipes from now on.  Next year we'll may leave a large section of the garden for ALL KINDS of potatoes.  Either that or we'll invest in barrels to for potato growing.  More on that in another post...because it sounds like one of those weird experiments we'll either love...or laugh about later.

What did you try in the garden that was new for you?

Thursday, August 4, 2011

The weeds you never knew about....

Not that the title suggests, this is not a post about coriander or cilantro being weeds. 

This post is about the happy accidents we encounter in our garden.  We tried herbs right in the main garden patch, but they turned into shrubery.  We tried them in pots, but their roots found their way out of the pot.  Those herbs were anchored to the earth on which they sat.  Last year, we tried herbs in pots again with very little success.  I was about to give up.  As for trial-and-error gardening, its fun but it does present some challenges.  We have the herbs now in the claw foot tub.  Sadly, I added too much peat to the tub and the herbs have had very little moisture retention (Lately we've had plenty of moisture, but it doesn't seem to last very long in the claw foot).

I noticed that my hubbie was weeding the garden, but being selective about it.  He stopped plucking the purslane.  He also stopped picking the random tomatoes that were rising from the compost!  My facebook page will have images of my rows that are quite disturbed with "extras mato plants".  I love the free tomatoes, i love the free plants....but they have a bad habit of  taking over the things we've actually planted in rows.  Especially rogue cherry tomato plants...they get viney!


The white brackets are to show you where the weed was on the purslane pathway to our composter


Hubbie noticed an odd looking weed one day and decided to leave it to see if we could identify it.  A week or so passed before we checked on it again.  The leaves smelled like Thrills gum...or soap...which is a tell-tale sign you've got cilantro growing!  I am not a crazy fan over cilantro, the key ingredient in pico de gallo.  I am, however, a GIANT fan of coriander...which is the seed of the cilantro plant.  We grew it 2 years ago and are still enjoying ground coriander in everything from hummus to fresh caught fish.  I have so much growing accidentally in the garden that I may just start selling it.  Anyone have an in with a supplier of restaurant grinders?  


This year's cilantro is already flowering...hot days will do that to a herb


You can pick the leaves of the cilantro plant up until the hot air forces it to flower.  After that time, the flavour of the leaves is more intense, almost bitter.  


This is just a small close up on the big bush covered with seeds!


Almost a week after we noticed the delicate white flowers emerge, then they started to wither and die off.  The best was yet to come...the flowers die and a small green ball emerges over time.  After the plant starts to die off...you can harvest the balls, now a brownish colour, and grinder away to your hearts content.  It must be the quintessential winter lemon flavour.  For if you want a hint of lemon in a dish when you don't want to send on winter lemons from who knows where...add coriander!

I just love figuring out ways to include more spices in my meals, but this was a happy bonus this year...the cilantro we planted two years ago emerged and now we'll be silly with coriander for years to come.

Now what are we going to do with the cilantro/coriander I planted this year?!?!

What herbs have you tried growing?