Showing posts with label garden. Show all posts

Thursday, October 13, 2016

Trellising Tomatoes...

I'm not even sure trellising is actually a verb.
After working at the farm last year, 
it definitely feels like an action word.

In years past, we had lost a large percentage of our harvest. 
The loss was due to the fact that the weight
of the tomatoes actually bent the vines down. 
The vines then grew along the ground
and produced more tomato fruit. 
The result was the tomatoes that touched
the ground went bad very fast. 
After all of the effort in growing the seedlings
and tending to them in the garden beds,
to see them go bad was heartbreaking.

While I wasn't the person who actually did the trellis work at the farm,
I understood the principle behind it.


With that knowledge, I felt better equipped this year.
My husband and I do not spend money on our garden.
We get the majority of garden-related stuff by donation or trading.
When I suggested we invest in metal T bars this year
it took a bit to convince the husband.

"It is an investment!"
"They will last for a very long time!"
"They are reusable!"

These were just a few of the sales pitches I tried out.

In the end, he relented and we purchased the T bars.

Luckily it wasn't the sort of thing we had to buy right away!
We planted our tomato seedlings at the beginning of June.

It took a few weeks for them to be tall enough for us to work with.


We hammered in the T bars at the end of each row of tomato plants.

(There are two rows of tomato plants in the bed shown above.)

Then the REAL fun begins!


Next we grabbed some baling twine.

We started at a spot that is near the bottom of the T bar.
Tie off one end and go around the inside of the first plant,
then outside of the next plant,
and so on...until to reach the end of the bed.

We tied off the twine at the other end just in case.

Then we came back to the beginning,
reversing the direction of the twine for each plant.

We had to grab the odd vine that was growing this way and that.

What you are left with is a great way to keep the tomatoes
standing tall without strangling the life out of the vines.


For the record, we've never seen the walkways look so great!
You can even see the recycled water jugs we use.

Cut the bottom off of a jig and
plant the spout end in the ground.
Its like a funnel right to the roots!

This method works best if you organize the jugs as
you plant the seedlings.

It also works best if you place the jugs between
the plant and the walkway...rather than beside the plant.
(we discovered that placing the jug beside the plant
results in losing the jug in the jungle of tomato plants)


It might be difficult to see in the above picture...
But our tomato plants are up to my shoulder!


Our tomatoes thrived this year!
Our walkways were clear enough that we could access
all of the plants for watering.
We also had way less loss due to mould.

Almost none of our plants had vines or
fruit which touched the ground!


The results speak for themselves in this instance.

Perfect tomatoes!

Wednesday, January 6, 2016

End of the Season 2015 part 1

It was one helluva gardening season this year.
Well...not really.
I worked at an organic vegetable farm called The Kitchen Garden from May-August.
Here's where I worked...


A small view of the enormous fields at the farm.


Inside one of the hoop houses I helped build by hand.


The big pond I helped dig by hand.


The smaller pond I helped dig...that waterfalls into the big pond.


Working at the farm was an amazing experience but it was incredibly draining.
Meaning that poor husband of mine spent more than his share working our own garden.

I was grateful.

I was also exhausted.

Some days it was just because I'd spent 5 hours hoeing and just couldn't look at another weed.

Other days I had spent 5 hours picking beans...and couldn't fathom picking any more.

We still managed to put away a crazy amount of food.
(stay tuned for more on that)
But the amount of food that we grew that got wasted broke my heart.

I learned an incredible amount as well.
I learned about working smarter...and harder.
I learned about different varieties of vegetables.
I learned how to trellis them and maintain their health.
I learned how to harvest them...and quickly!

Speed is of the essence at a farm.
The margin is so small on vegetable sales.
You work fast...
even if you feel like the heat is
making your body move in slow motion.

I learned how to use hand tools...
something I've never done before.

(Seriously?!  she's been gardening for over 10 yrs now!
How is that even possible!?!?)

Well...we've been doing it by hand.
Literally by hand all of this time.

Sure, we might use a wheelbarrow or a shovel.
But all of that weeding and harvesting was done by hand.


Let me tell you, I have some amazing discoveries to share in the coming year!
No trademarked secrets that only The Kitchen Garden uses.
Sorry folks, that's privileged information...and you'll have to work there to find out more.

What I'm going to share with you are all of the
things that I will be doing differently in my home garden.
Tools, tips and trellising tricks...
and much, much more!

Its all gonna change this year!
Stay tuned...

Sunday, July 26, 2015

Garden Update 2015 Edition part 2

Bellstar sauce tomatoes!


Green Globe Artichokes....not choking yet


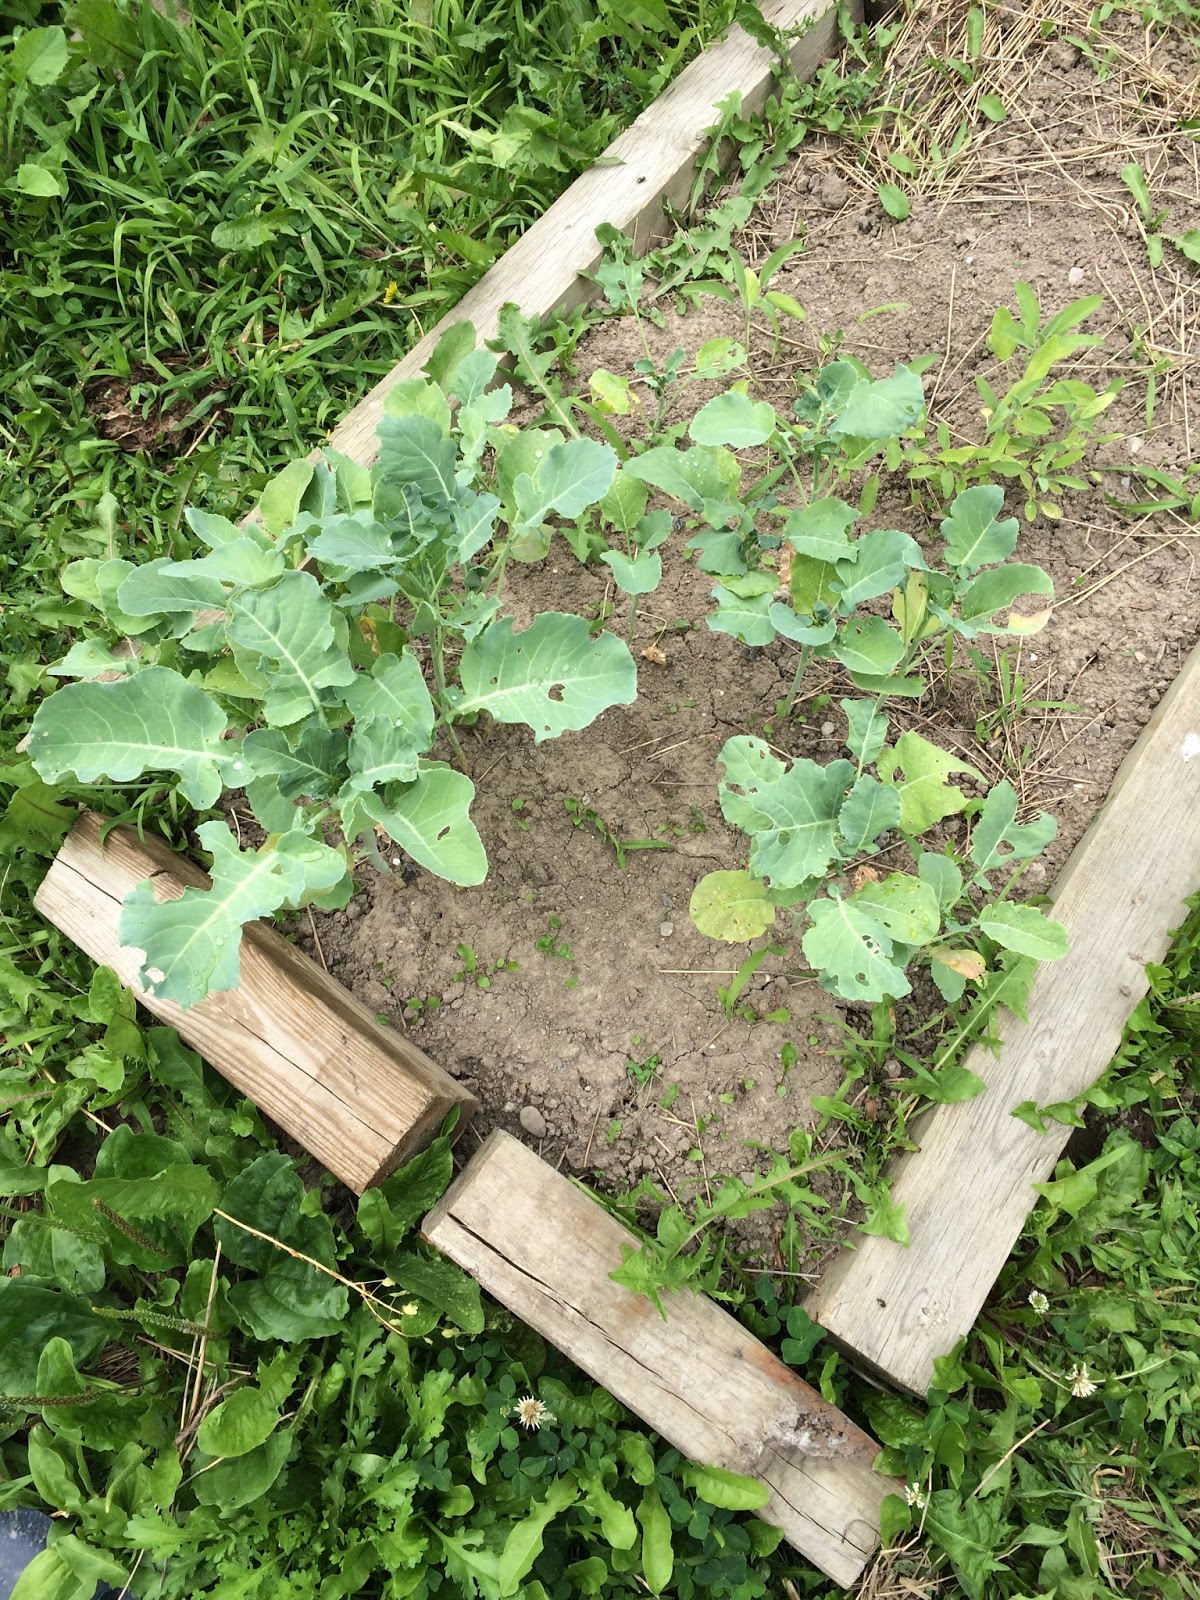
Broccoli


Red onions


White onions


Brussels sprouts...from above...


And below...


Cucumbers...


Summer squash


Ground cherries...paper lanterns...


Cheyenne bush pumpkins!


Third bed of peas...we may have a problem...


Black Kris tomatoes


Rainbow Carrots


Romaine


Turnips...great fall storage crop...


Jalapenos


Chilies...


How does your garden grow?


Sunday, July 5, 2015

Garden Update 2015 Edition...part 1

I present to you....our garden!
It's taken a while to get things going.
Between working at the farm and the rainy June,
It was really tough to give the garden the time it needed.


Our garlic (given to us by a friend) had a horrible time...but we suspect the chickens got to them.
That was before we added the chicken wire fence to the whole garden.


White fingerling potatoes are loving it!
They are from Uncle Robert's garden last year.
Can't wait to see what comes out of it!


Summer squash bed....green zucchini, yellow zucchini and white paddy pans.


Soooo many tomatoes.....
Black Kris (grown from our seeds from last year's crop)
Anna Russian (oxheart - from the Grandmothers for Africa plant sale)
Bellstars (round sauce tomato - given to me by my boss at the farm)
Romas (grown from our seeds from last year's crop)


Green Globe Artichokes!  8 survived...(from the Homesteading Canada seed exchange)


White and Red (not shown) onions (bulbs purchased from the Foodland grocery store)


Two plantings of romaine lettuce (seeds from the hardware store)
Spinach started further down the bed...not doing very well...


Winter squash bed...
Pumpkin and random squash seeds from a friend...can't wait to see what the are!!!
Butternut squash (grown from our seeds from last year's crop)
Buttercup squash (grown from our seeds from last year's crop)


Green beans (grown from our seeds from last years crop)
Not shown...pencil pod yellow wax beans from my coworker
purple beans from the hardware store.

That's just one side of the garden!
Stay tuned for part two in the garden update series...
coming soon...after we have weeded some more beds...

**************

I also have some big news!
I was made a member of the Tamworth/Erinsville 
Grassroots Growers Steering committee!
Although I am not a resident of Stone Mills Township,
I was still so happy to be a part of such an enthusiastic 
group of community-minded people.
They also put on GREAT events with excellent guest speakers.

The Kitchen Garden has kept me busy and happy.
Monday to Friday I work my butt off and learn so much.
It's really quite staggering!!!
From pest control to cultivars...
From hand working a field to harvesting the bounty.
Everyday is a blessing.


Wednesday, January 21, 2015

Year in Review 2014


2014 was a great year for us and our garden!
Seriously.
I know everyone seemed to be grumbling about all of that rain.
And we had a LOT of rain.

Going into this year was a bit of a worry.
We had doubled our garden size from last year.
I was afraid the weeds would take over.
I worried that I wouldn't have the time to do all that must be done.

SPRING

original garden area - 2012

Doubling the garden - early spring

We worked very hard all spring.
We made 14 slightly raised beds to contain our rows.
That turned out to be brilliant!
It kept the veggies out of the water.
The walkways in between the rows collected all of the excess water.
Plus the walkways were wide enough to mow!
EASY!

spring garden - all planted and ready to grow

Turns out, I had nothing to worry about.
I was so busy with the garden that I forgot to take a summer time photo!

beans
peas


winter squash

So there were a few shots I got of some of the veggies when they were growing.

early fall

By fall, we were exhausted but exhilarated.
We had put so much food away...while also eating the freshest foods all summer long.

November
We prepped the beds in the fall to prepare the soil for next year.
We have a couple of people who supply us with food waste for composting.
But we really love the fella who brings us leaves.
He drops them right off at our door!!!
(we just have to return the paper leaf bags)
We spread leaves on each bed, as well as creating a couple of new beds at the end.
At this point, I have no idea how many beds we'll have next year.
I'll have to let ya know...haha. 

next day in November

Winter came early this year.
So here is our sleepy garden patch.
Patiently awaiting next year...to be awesome!
We already have 100 garlic cloves planted and asparagus will be in its second year...
so close...


How was your year?


Thursday, December 4, 2014

Critters who ate our garden this year...2014

Japanese beetles....


I know everyone was talking about them...but I didn't really pay attention.

Then one day, I noticed my concord grape leaves looked like lace...

Sigh.

Eventually I did look them up on Wikipedia.
I wanted to make sure they were what I thought they were.
The write up is interesting...although depressing.
They are attracted to just about every plant.
You can use a soap/water mixture...which I will be trying out next spring!
I will try to post my results of a few different types of mixtures too.

This past year, I just reached out, picked it up and squished it.


Black Horsefly...


These things weren't eating my garden...but they were REALLY horrifying!
They are a relative of the horsefly...which is already big and scary.
These suckers are TWICE the size of a regular horsefly!!!
They are jet black all over and probably the worst looking thing I've seen
since moving to the country.

Sunday, October 5, 2014

The Mighty Potato...

The mighty potato!
Saviour of the Irish...
Scourge of Atkins-diet followers everywhere...

We absolutely love to grow potatoes!
Each year we attempt to grow a huge amount of potatoes.
The funny thing is...you never know how many potatoes you are growing...until you dig them up!


Each year we come up with some brilliant idea of how to grow MORE potatoes.
This year, we tried to grow the plants inside buckets with the bottoms cut out.

The first few plants I unearthed...I wasn't convinced it was a good method.


For some reason, the other half of the potato bed proved this method an unusual success!


We planted a dozen potato plants...and the above picture shows our white fleshed potato yield.
The ones in the bucket are for storing.
The ones on the straw are tubers that I scratched or nicked with my fingers or the trowel.
I was told that any disturbed flesh on the potato will rot very quickly.
I had no idea how quickly.
That is, until some of our red skinned potatoes went bad in 2 days where I had been careless.


Careless?  Maybe.  Excited to dig up super sized tubers?  Definitely!
There were more than a few that were the size of my head!!!


So what do you do when you scratch a freshly dug potato?
Make a loaded baked potato for dinner!

Gently scrub the skins of the potato (fresh taters have very delicate and papery skin)
Clean, soak and chop a handful freshly picked cooked broccoli.
Chop a few pieces of cooked bacon.
Shred marble cheddar cheese from Wilton Cheese.
Pierce potato all over and wrap in foil.
Bake for 1 hr approx.
Open foil and pinch sides of potato to open.
Add Stirling butter and top with broccoli, bacon, cheddar and s & p to taste.

Over the past few years of blogging, I have discussed potatoes before.

If you would like more potato-ey goodness:

Here I discuss cooking potatoes 
(features recipes for Potato and Wild Leek Soup, Leftover Mashed Potato Pancakes, Hashbrowns)


Here I illustrate the recipe for Shepard's Pie


Here is our recipe for Venison Steak and Veggie Pie with Pastry topping


Here is my original potato post complete with recipe for roasted red potatoes as a side dish.